Users & System Security
Access Security
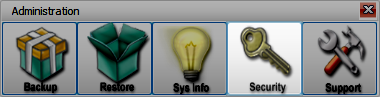
Access User Profiles and Security by going to Administration > Security
User Accounts
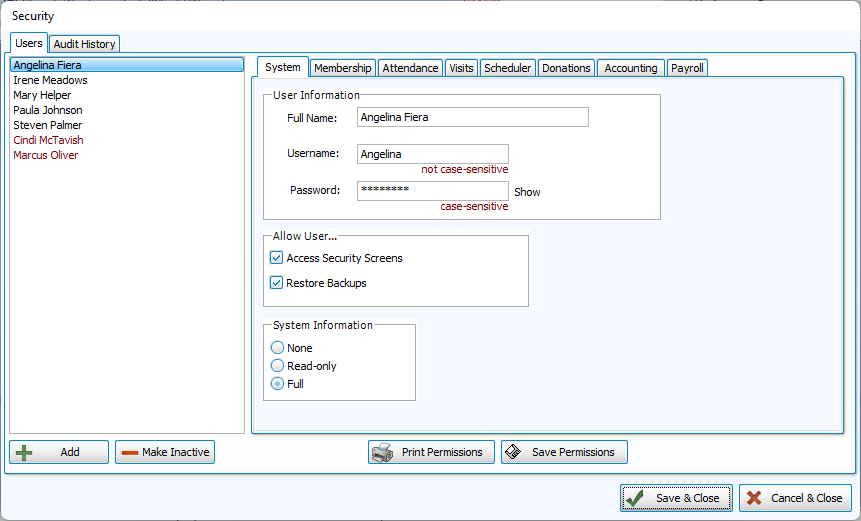
The Security window houses all of the accounts your staff and volunteers will use to log in to Church Windows. Each account should be unique to the individual using it, with their own set of access and permissions.
When creating log ins, use an individual's name (ie Jane) rather than their position (ie Bookkeeper). This ensures that the audit trail will be clear and easy to read. When accounts are set up for a position rather than a person, it can decrease the accountability and clarity of the audit and edit history within the program.
Add a User
-
Click

-
Enter the new user's Full Name, then choose a username and case-sensitive password.
-
Determine program permissions.
-
Determine module-by-module access.
-
Click
 to print out a copy of this user's settings.
 -
Click
 to continue working in Security or
  to exit. Click
  to exit without saving changes.
Make a User Inactive
-
Highlight the name of the user to make Inactive on the left side of the screen.
-
Click
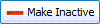 .
.This will deactivate the login, turn their name red. Upon reentering the Security screen, this user will be moved to the bottom of the list. Their history and changes in the program will still be a part of the audit trail.
Program Security
There are several system-wide security permissions to consider.
-
At least one person should have Access to the Security screens. This access allows them to change permissions and create new users.
-
Users that are trusted to Restore Data need to have this permission granted on the System tab.
You should also determine the level of access to System Information, including Organization Information and Licensing
-
None - The User will be blocked from accessing Sys. Info.
-
Read-Only - The User will be able to open Sys. Info. but will not be able to make edits.
-
Full - The User will be able to open Sys. Info and make changes.
Module-Specific Security Settings
With the user selected on the left, you can make module specific settings through the tabs on the right. Overall access to opening the module can be toggled with a check box at the top of the screen. Areas of the module are divided into groups of features. These areas are highlighted in blue and can be expanded for more detail by clicking the ![]() and collapsed with
and collapsed with ![]() . Access to some features may depend on access to others (for example, to edit list field codes, a user would need access to People).
. Access to some features may depend on access to others (for example, to edit list field codes, a user would need access to People).
View
Allows User to open and view the screen and information
Create
Allows User to make additions and enter new information
Modify
Allows User to make changes and edits to existing information
Delete
Allows User to remove information